Vehicle Drive Belt Replacement: A Comprehensive Guide
Introduction
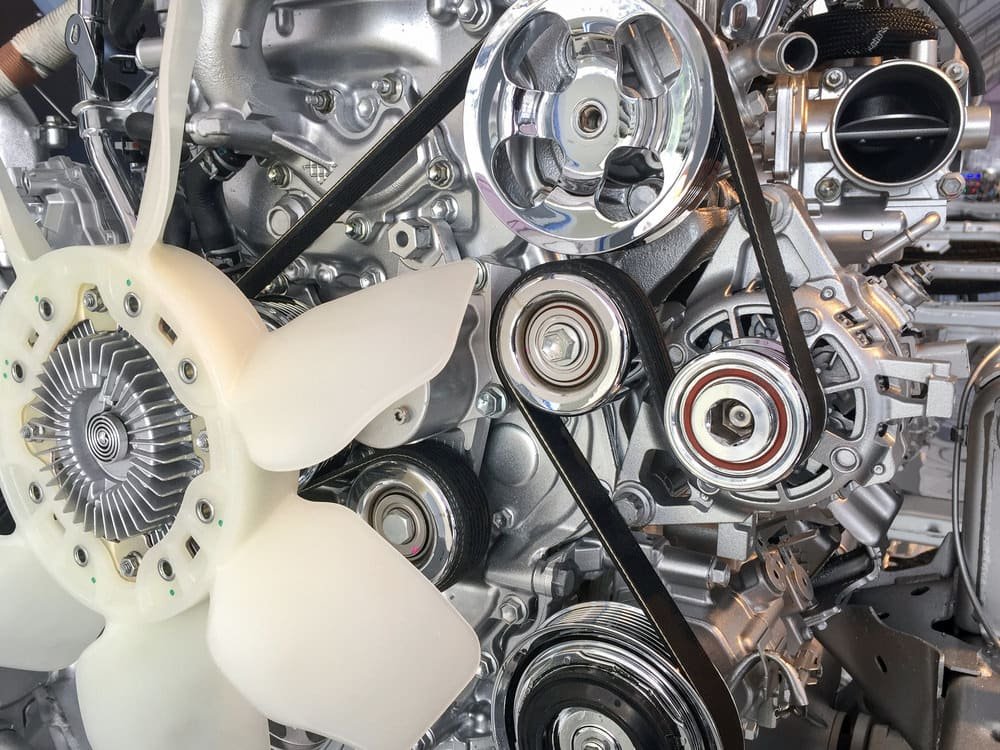
The drive belt is a crucial component in your vehicle’s engine, responsible for transferring power from the engine to various accessories such as the alternator, power steering pump, air conditioning compressor, and water pump. Over time, drive belts wear out and require replacement to prevent sudden failures that can leave you stranded or cause engine damage.
This guide covers everything you need to know about vehicle drive belt replacement, including:
-
Types of Drive Belts
-
Signs of a Worn or Failing Drive Belt
-
How to Inspect Your Drive Belt
-
Tools Needed for Replacement
-
Step-by-Step Drive Belt Replacement Guide
-
Tips for Maintaining Your Drive Belt
-
Common Mistakes to Avoid
-
When to Seek Professional Help
By the end of this article, you’ll have a thorough understanding of how to replace a drive belt yourself or recognize when it’s time for professional service.
1. Types of Drive Belts
There are two main types of drive belts in modern vehicles:
A. Serpentine Belt
-
A single, long belt that winds around multiple pulleys.
-
Powers most engine accessories (alternator, power steering, A/C, water pump).
-
Found in most modern vehicles.
-
Made of durable rubber with reinforced cords.
B. V-Belt (Traditional Drive Belt)
-
Older design, shaped like a “V” to fit into grooved pulleys.
-
Typically used in older vehicles with fewer accessories.
-
Some vehicles may have multiple V-belts for different components.
Most newer cars use a serpentine belt due to its efficiency and ease of maintenance.
2. Signs of a Worn or Failing Drive Belt
Recognizing the symptoms of a failing drive belt can prevent breakdowns and costly repairs. Look for these warning signs:
A. Squealing or Chirping Noises
-
A high-pitched squeal when starting the engine or accelerating often indicates a loose or worn belt.
-
Could also be due to a misaligned pulley or lack of tension.
B. Visible Cracks or Fraying
-
Inspect the belt for cracks, splits, or missing chunks.
-
Severe wear can cause the belt to snap unexpectedly.
C. Glazing or Shiny Spots
-
A glazed or shiny surface suggests slipping due to improper tension or oil contamination.
D. Belt Slipping Off Pulleys
-
If the belt keeps coming off, the tensioner or pulleys may be faulty.
E. Overheating or Battery Warning Light
-
A failing belt can cause the alternator or water pump to stop working, leading to overheating or battery drain.
F. Accessories Not Functioning Properly
-
If power steering feels heavy, the A/C isn’t working, or the battery isn’t charging, the belt may be slipping or broken.
3. How to Inspect Your Drive Belt
Regular inspections can help catch problems early. Here’s how to check your drive belt:
-
Turn Off the Engine – Ensure the vehicle is cool and the engine is off.
-
Locate the Belt – Open the hood and find the serpentine or V-belt.
-
Check for Wear – Look for:
-
Cracks or fraying
-
Missing ribs
-
Glazing or shiny spots
-
Excessive looseness
-
-
Test Tension – Press down on the belt midway between pulleys. It should have about ½ inch of give. Too much slack indicates a worn tensioner.
-
Spin the Pulleys – Check for seized or wobbly pulleys that could damage the belt.
If you notice severe wear, replace the belt immediately.
4. Tools Needed for Replacement
Before starting, gather these tools:
-
New drive belt (check your vehicle’s manual for the correct part number)
-
Socket set and wrenches
-
Belt tensioner tool (for some vehicles)
-
Gloves and safety glasses
-
Flashlight (for better visibility)
-
Belt routing diagram (often found under the hood or in the repair manual)
5. Step-by-Step Drive Belt Replacement Guide
Follow these steps to replace your drive belt safely:
Step 1: Park Safely and Disconnect the Battery
-
Park on a level surface and engage the parking brake.
-
Disconnect the negative battery terminal to prevent accidental starts.
Step 2: Locate the Belt Routing Diagram
-
Check under the hood for a sticker showing the belt’s path.
-
If missing, take a picture of the current belt routing before removal.
Step 3: Release Belt Tension
-
For Serpentine Belts:
-
Use a socket wrench on the tensioner pulley to relieve tension.
-
Slide the belt off one of the pulleys.
-
-
For V-Belts:
-
Loosen the alternator or accessory mounting bolts to create slack.
-
Remove the old belt.
-
Step 4: Remove the Old Belt
-
Carefully slip the belt off all pulleys.
-
Inspect pulleys for damage or misalignment.
Step 5: Install the New Belt
-
Refer to the routing diagram to thread the new belt correctly.
-
Ensure it sits properly in all pulley grooves.
Step 6: Apply Tension
-
Serpentine Belt:
-
Use the tensioner tool to create slack and slide the belt onto the last pulley.
-
Release the tensioner to lock the belt in place.
-
-
V-Belt:
-
Tighten the alternator or accessory bolts to apply proper tension.
-
Step 7: Verify Installation
-
Spin the pulleys by hand to ensure smooth operation.
-
Start the engine and listen for unusual noises.
-
Check that all accessories (A/C, power steering) are working.
6. Tips for Maintaining Your Drive Belt
-
Inspect Every 12,000 Miles – Look for wear during oil changes.
-
Keep It Clean – Avoid oil or coolant leaks that can degrade the belt.
-
Replace as Recommended – Most belts last 60,000–100,000 miles, but check your manual.
-
Carry a Spare – If your belt is old, keep a spare in the trunk for emergencies.
7. Common Mistakes to Avoid
-
Incorrect Routing – Installing the belt wrong can damage components.
-
Overtightening – Excessive tension strains bearings and pulleys.
-
Ignoring Pulley Issues – Worn pulleys can quickly ruin a new belt.
-
Using the Wrong Belt – Always match the exact size and type specified for your vehicle.
8. When to Seek Professional Help
While DIY replacement is possible, consider professional assistance if:
-
The belt keeps slipping off.
-
You hear grinding noises (possible bearing failure).
-
The tensioner or pulleys are damaged.
-
You’re unsure about the correct belt routing.
Conclusion
Replacing a vehicle drive belt is a manageable task for most car owners with basic mechanical skills. Regular inspections and timely replacements can prevent unexpected breakdowns and costly repairs. By following this guide, you can ensure your drive belt remains in top condition, keeping your engine running smoothly.
If you’re uncomfortable performing the replacement yourself, consult a trusted mechanic to ensure the job is done correctly. Safe driving starts with proper maintenance!