Replacing an idler pulley is a common maintenance task that ensures your vehicle’s serpentine or accessory belt runs smoothly. Here’s a step-by-step guide to help you replace it:
Tools & Materials Needed:
-
New idler pulley (ensure it matches the old one)
-
Socket set & ratchet (or wrench)
-
Belt tensioner tool (if needed)
-
Jack and jack stands (if pulley is hard to reach)
-
Gloves & safety glasses
Steps to Replace an Idler Pulley:
-
Park Safely & Disconnect Battery (Optional)
-
Park on a level surface, engage the parking brake, and disconnect the negative battery terminal (if needed for safety).
-
-
Locate the Idler Pulley
-
Open the hood and find the idler pulley in the serpentine/accessory belt system.
-
Refer to your vehicle’s belt routing diagram (often found on a sticker under the hood or in the owner’s manual).
-
-
Relieve Belt Tension
-
If the belt is tensioned by an automatic tensioner, use a belt tensioner tool (or a breaker bar) to rotate the tensioner and slip the belt off.
-
If there’s no tensioner, you may need to loosen other components to slacken the belt.
-
-
Remove the Belt
-
Slide the belt off the idler pulley and keep it aside.
-
Inspect the belt for cracks or wear—replace if necessary.
-
-
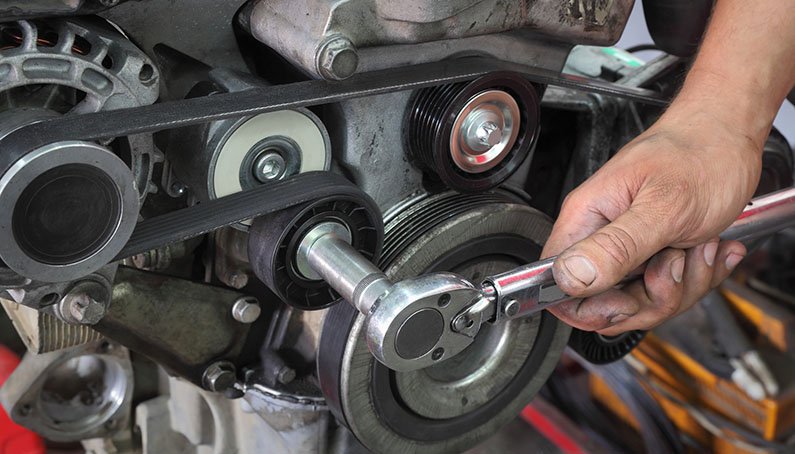
Remove the Old Idler Pulley
-
Use a socket or wrench to remove the pulley’s center bolt (usually a 10mm-15mm bolt).
-
Some pulleys are held by a bolt, while others may have a press-fit design.
-
If stuck, gently tap with a rubber mallet or use penetrating oil.
-
-
Install the New Idler Pulley
-
Align the new pulley and tighten the bolt to the manufacturer’s torque specs (if specified).
-
Ensure it spins freely without wobbling or grinding noises.
-
-
Reinstall the Belt
-
Route the belt back according to the diagram.
-
Use the tensioner tool again (if applicable) to slip the belt over the last pulley.
-
-
Check Alignment & Tension
-
Verify all pulleys are aligned and the belt sits properly in all grooves.
-
Start the engine briefly to confirm smooth operation (no squealing or misalignment).
-
-
Reconnect Battery & Test Drive
-
Reconnect the battery (if disconnected) and take a short test drive to ensure everything works properly.
-
Signs of a Bad Idler Pulley:
-
Squeaking or grinding noise from the engine bay
-
Belt misalignment or wobbling
-
Visible wear on the pulley bearing
-
Belt damage (cracking, fraying due to poor pulley function)
Pro Tips:
-
Replace the belt if it’s worn to avoid future issues.
-
Consider replacing tensioners if they’re old (preventative maintenance).
-
Use OEM or high-quality aftermarket pulleys for longevity.
If you’re unsure, consult a repair manual for your specific vehicle or seek professional help. Let me know if you need help identifying the pulley or belt routing!