Replacing a radiator
Replacing a radiator is a significant job but can be done with the right tools and patience. Here’s a step-by-step guide:
Tools and Materials Needed:
- New radiator
- Coolant
- Wrench set
- Pliers
- Screwdrivers
- Drain pan
- Jack and jack stands (if needed)
- Safety glasses and gloves
Step 1: Prepare Your Workspace
- Park the vehicle on a level surface and engage the parking brake.
- Allow the engine to cool down completely.
- Open the hood and locate the radiator.
Step 2: Drain the Coolant
- Place the drain pan underneath the radiator drain valve.
- Open the drain valve and allow the coolant to drain completely.
- Dispose of the old coolant properly according to local regulations.
Step 3: Disconnect Hoses and Lines
- Use pliers to loosen the hose clamps.
- Disconnect the upper and lower radiator hoses from the radiator.
- Disconnect any transmission cooler lines or other connections if applicable.
Step 4: Remove Mounting Bolts
- Locate the mounting bolts or brackets that secure the radiator to the vehicle.
- Use a wrench or socket set to remove these bolts.
- Keep track of the bolts and brackets for reinstallation.
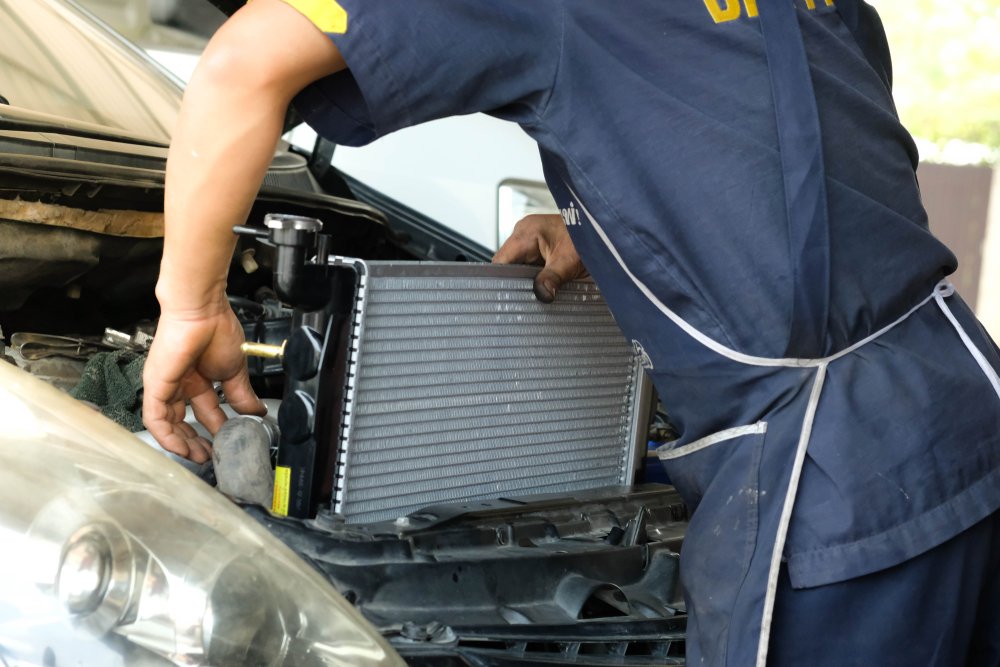
Step 5: Remove the Old Radiator
- Carefully lift the old radiator out of its mounts.
- Be cautious as it may still contain some coolant.
Step 6: Install the New Radiator
- Position the new radiator in place, aligning it with the mounting points.
- Ensure that the radiator sits securely in its mounts.
Step 7: Reattach Hoses and Lines
- Reconnect the upper and lower radiator hoses, ensuring they are securely fastened.
- Reconnect any transmission cooler lines or other connections.
Step 8: Secure Mounting Bolts
- Insert and tighten the mounting bolts or brackets to secure the new radiator in place.
Step 9: Refill Coolant
- Refill the radiator with the appropriate coolant mixture.
- Refer to your vehicle manual for the correct type and amount of coolant.
Step 10: Check for Leaks
- Start the engine and let it run for a few minutes.
- Check around the radiator and connections for any signs of leaks.
- Tighten connections if necessary.
Step 11: Dispose of Old Parts
- Properly dispose of the old radiator and any other replaced parts.
Step 12: Test Drive
- Take the vehicle for a short test drive to ensure everything is working properly.
- Monitor the temperature gauge to ensure the radiator is functioning correctly.
If you’re not comfortable performing these steps yourself, it’s always best to consult a professional mechanic for assistance. They have the experience and tools to complete the job safely and efficiently.